Tools needed: anti-static wrist strap or gloves, screwdriver, can of compressed air, and a flashlight (optional)
1) Prepare your self and computer by putting on your anti-static wrist strap or gloves, then remove the side of the computer case.
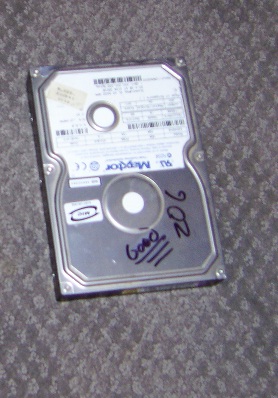
2) Carefully locate and remove your hard drive and its connections and place it on a flat surface. At this point you should have something similar to the picture below
3) Locate the holes around the top edges of the hard drive
4) Align holes on the hard drive with those of the fan
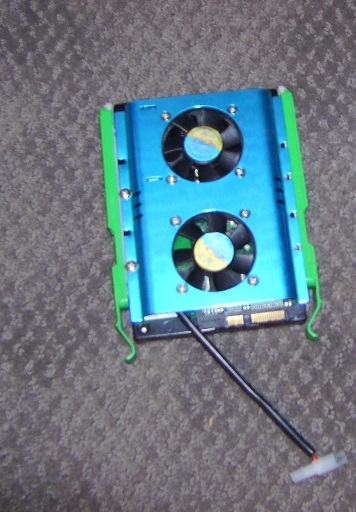
5) Use supplied screws to attach the fan. Below is a picture of what it should look like now.
6) Place the hard drive back into the computer and reconnect all connections, including the one for the new fan.
7) Before closing your case use your can of compressed air to clean out the inside of your computer.
8) Enjoy the benefits of your new fan!
If you would like us to install the fan for you Chautauqua Hosting and design will can install it for *less then $5
You have now successfully installed a new fan! Down the road your computer will thank you ( and so will your wallet) for its prolonged life.
Disclaimer: Studies have shown that fan installation can prolong the life of a computer and its components but is not guaranteed , Please use care when opening your computer case. Chautauquahd.com is not responsible for any damages uncured wile you service your computer.
*Prices starting at $4.99
No comments:
Post a Comment